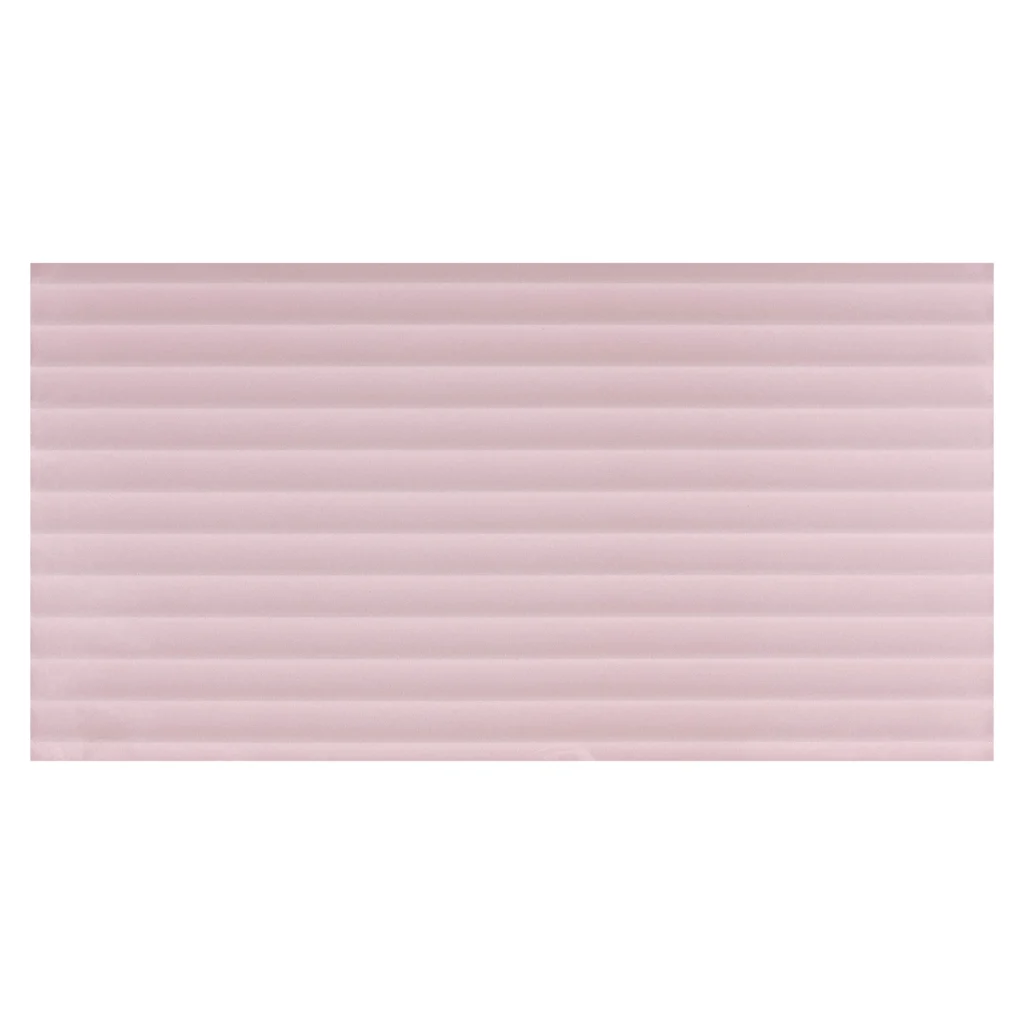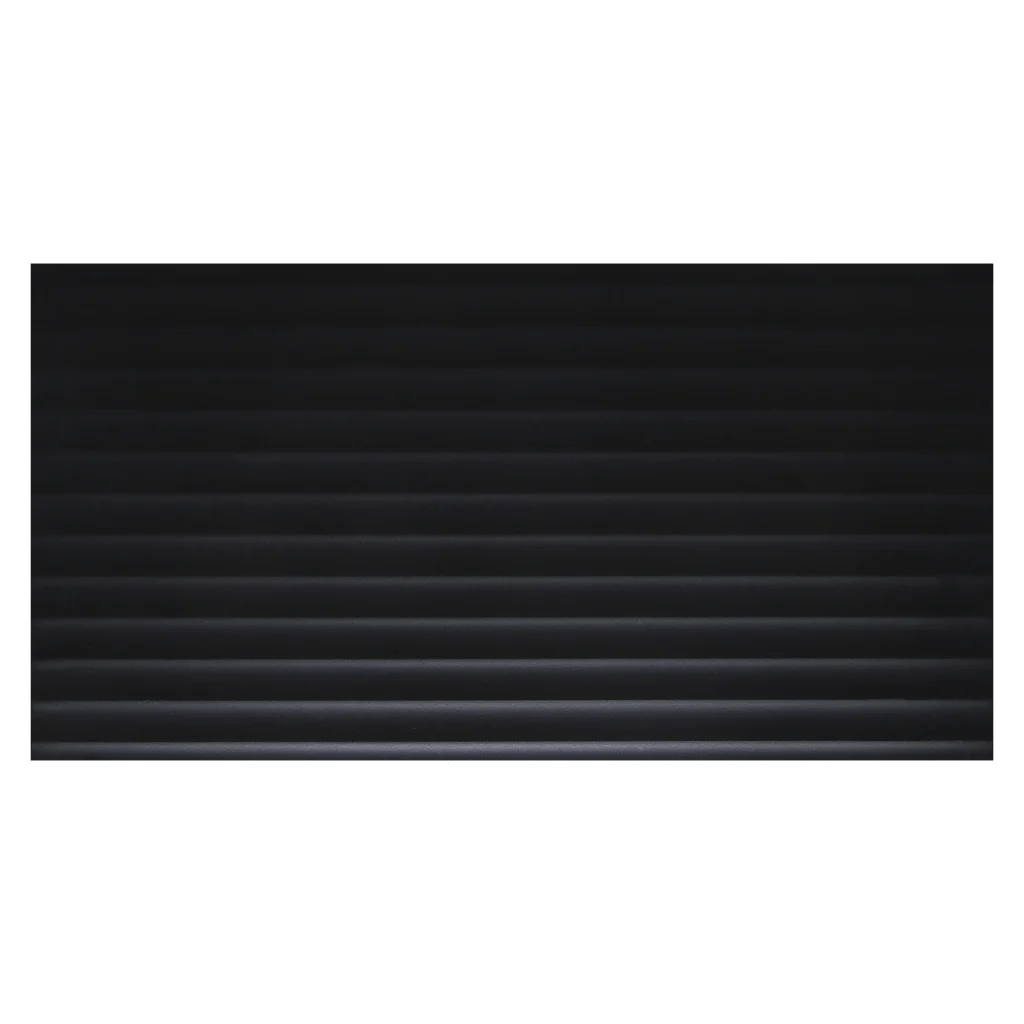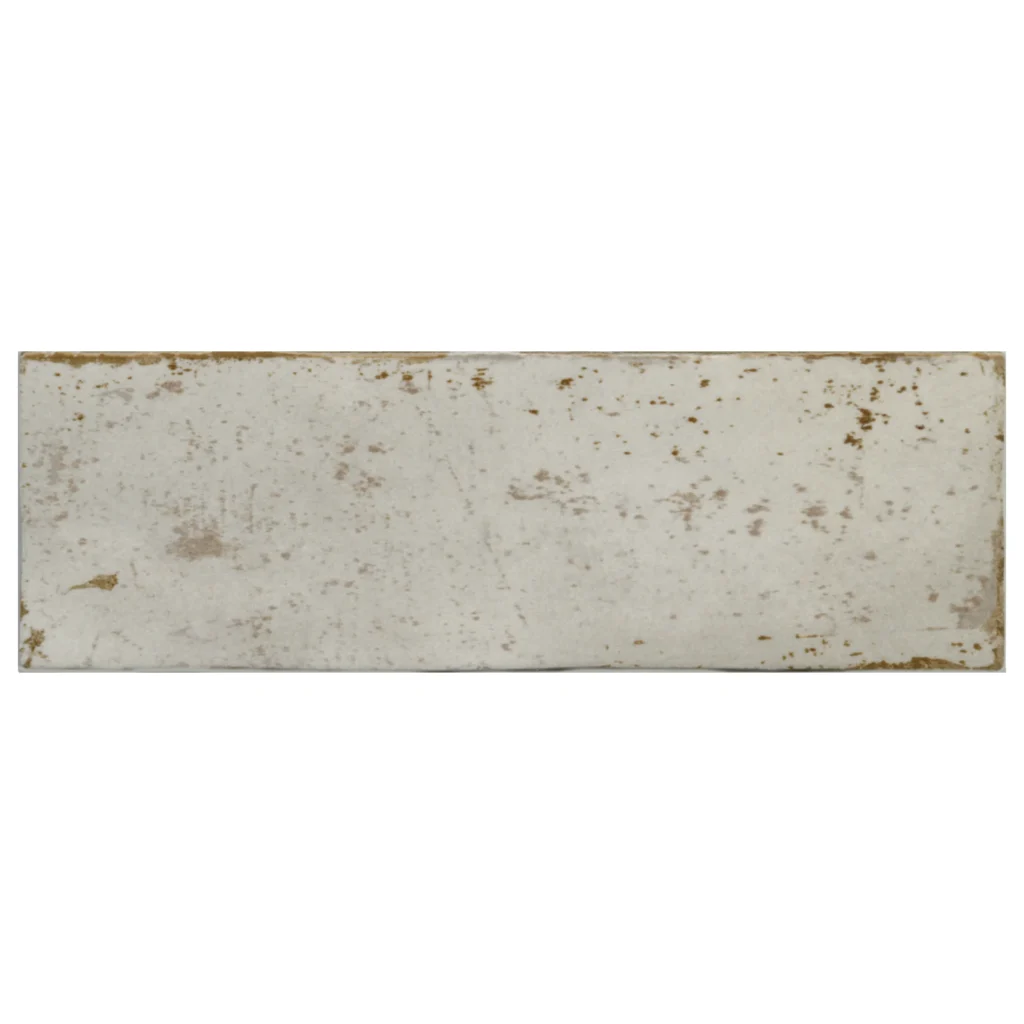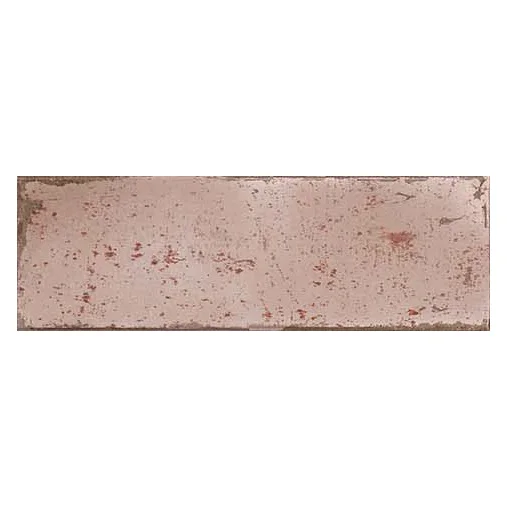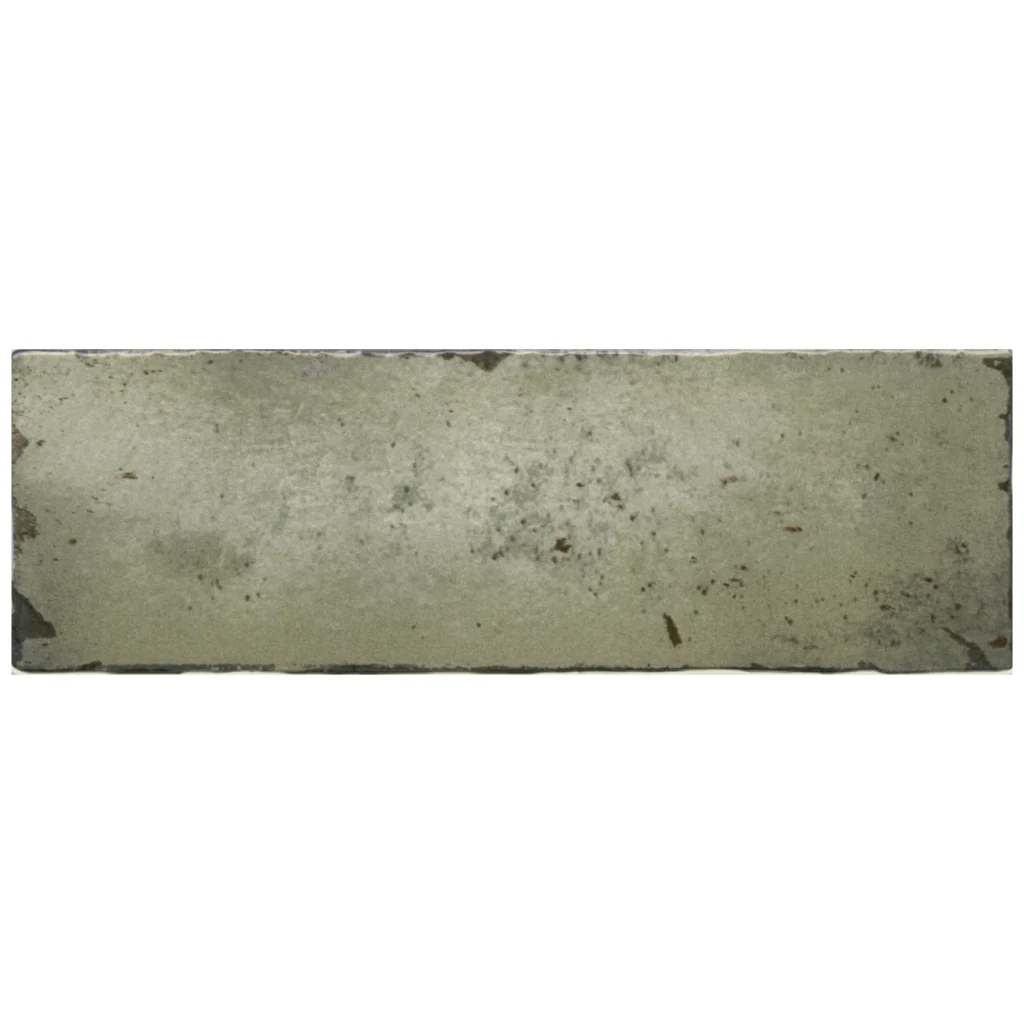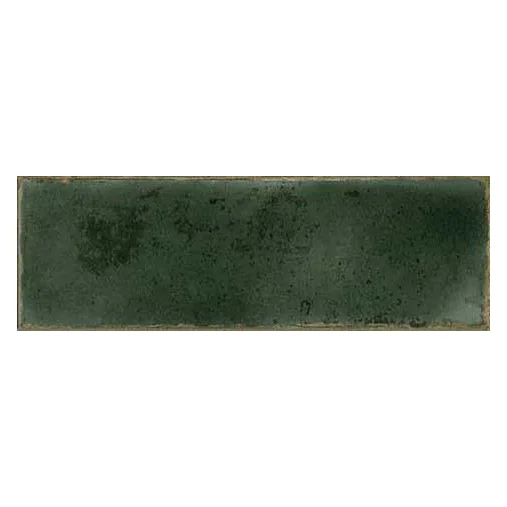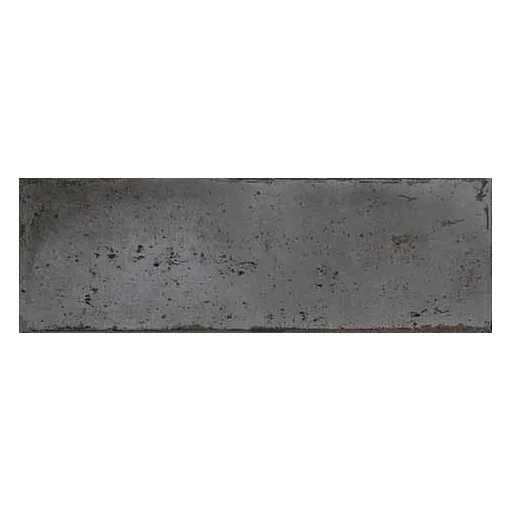
Rocco 2.0 Concrete Basin
The Rocc 2.0 Basin (390mm D x 150mm H) offers a modern, deep circular design with a sleek finish, enhancing both style and functionality in any bathroom setting.
Concrete Basins Care
Each CBFD concrete basin is unique and one of a kind, with its character and charm. Our basins are made from raw and traditional materials, embracing natural variations in colours and finishes. Like fine wine, the appeal of concrete grows as it ages monotony of uniformity, and develops its personality.
CBFD basins combine a mixture of concrete materials such as stone, sand and cement to form an extremely robust product. The basin is finished and sealed with a smooth water based nano glaze sealant to provide protection against scratching and stains which allow water and other debris to easily flow off the surface.
CARE & MAINTENANCE
Concrete is a hardy material that will last for years if properly maintained. To maximize the lifetime of your concrete basin, please follow these tips:
l. Use PH neutral cleaners: Use a gentle PH neutral cleaner or warm soapy water to clean your basin. Using alternative cleaners may damage the sealer on your basin and affect warranty.
2. Acid is your enemy. Do not use acidic cleaning products. High acidic contents are common in a lot of cleaning products, so take care to seek out their nonacidic counterparts.
3. Avoid abrasive and sharp materials: When cleaning or drying the basin be sure not to use anything that could scratch the surface. A soft microfiber cloth or sponge is recommended.
4. Clean up spills immediately: While sealer and wax will provide a strong level of protection against staining liquids, it is always best to clean up spills as soon as possible.
5. Keep it dry after use: Minimise the time the basin is full of water. A general rule of thumb is to not keep a basin filled with water for longer than 15 minutes. Drying the basin with a soft fabric after use will further extend its life.
6. Protect the sealer with wax: We recommend applying a food-safe wax (such as beeswax) every 4-6 months. This will help protect the sealer and keep your basin looking fresh!
7. Avoid the heat! Hot liquids, oils, and materials will damage the surface of the concrete if left to linger. Safely and carefully remove any exposure to these hot liquids or materials if necessary.
8. Use sink protectors and placemats: Reducing exposure to hot or scratching dishes and cups will keep your basin safe from any marks or stains.
9. Keep the basin out of sunlight: Sunlight will gradually erode the surface of concrete. Make sure your concrete basin is in a place where sunlight exposure is limited.
10. Keep weight off the basin: Concrete is strong, but to avoid creating cracks in the surface, do not put any heavy objects on or in the basin. Additionally, do not sit, stand, or lean on the concrete.
WARRANTY
1. Damages caused by misuse in accordance with our care instructions.
2. Damages due to incorrect installation, including cracking due to over tightening of waste. It is important not to overtighten the waste when being installed, as this can build up pressure inside the basin. Your basin should be installed by a licensed professional and follow the installation instructions provided in the box.
3. Damages due to natural wear and tear.
4. Damages due to the sealer breaking down from incorrect use and maintenance.
5. Visual and natural changes to the product over time. Concrete is a natural product and may develop pin holes, patina, changes in colour and finish. This does not affect the integrity of the basin.
6. Scratches to the concrete. Whilst our sealer is scratch resistant, it is not scratch proof. Scratches and marks over time are natural with concrete add to its character.
7. Accidental damage or chipping of the basin.
8. Change of mind. Please be sure to choose your basin correctly and understand the nature of concrete. Exchanges or refunds will not be given for change of mind or misunderstanding of product. We recommend seeing samples at your chosen retailer or purchasing samples from CBFD before selecting your basin.
9. Commercial use.
RETURNS
Due to the nature of these products, CBFD does not offer returns for change of mind, misunderstanding of product/variations or incorrect ordering. A return or replacement will be accepted if goods are deemed faulty before installation. CBFD must be notified of any returns within 7 days of original delivery date. A return/replacement request must be accompanied by the original invoice number and photo evidence.
IMPORTANT: Check your basin before installing to make sure you have ordered and received the correct item and that it has no visual defects. CBFD takes no responsibility in relation to defects or incorrect items after installation takes place.
INSTALLATION
Installation instructions must be adhered to in accordance with our warranty. Your basin should be installed by a licensed professional
BEFORE YOU BEGIN
Ensure all local plumbing and building codes are up-to standard.
Prior to installation, unpack the concrete basin and carefully inspect it for damage. Return the concrete basin to its protective carton until you are ready to install it.
For replacement installation, make sure the existing cutout is the same or smaller size as the concrete basin.
Note: Take the tapware dimensions into account before installing.
1. Trace the template with a pencil to map the outer rim of the basin onto the countertop.
2. Drill a 13mm hole on the inside of the cutout opening.
3. Cut the opening on the countertop along the inside edge of the pencil line.
4. Drill the tapware installation hole according to the tapware and countertop dimensions. Note: Tapware installation hole should be precisely drilled, otherwise it may be hindered by the basin or wall.
5. Temporarily position the basin in the opening and adjust it to fit.
6. Remove the basin. Install the tapware and drain according to the manufacturer instructions.
7. Apply clear silicone sealant to the bottom installation area.
8. Carefully position the basin in the cutout, and press down firmly.
9. Immediately wipe away any excess sealant, and fill any voids as needed.
10. Verify that the basin has not moved out of position.
11. Allow the sealant to cure for at least 30 minutes before proceeding.
12. Connect the tapware supply lines.
13. Connect the drain assembly.
14. Open the tapware valves, and check for leakage.
15. Clean up with a non-abrasive cleaner.
Note: We do not recommend using epoxy resin as the sealant.